Sunday, March 11, 2012

Sourdough Starter, Sprouts and Yogurt

It's been a bit of a frazzled week around here - restoration workers (still!) in the basement, dental issues, sickness - but there was also comfort to be found in the kitchen.  I always think that centuries of women must have found comfort and calm, during trying times, in their daily rounds in the kitchen, and in the rhythm of food preparation.
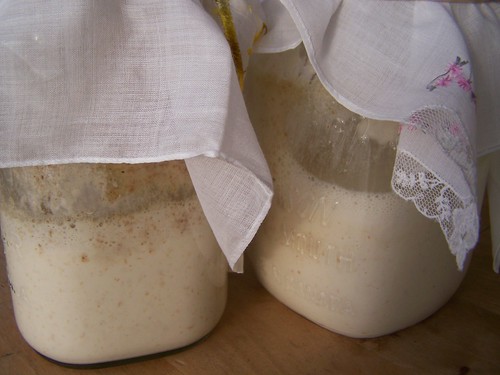
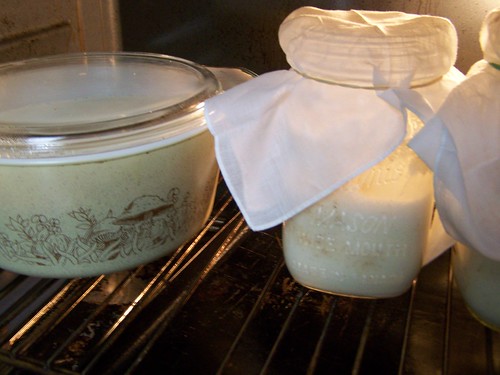
I've been wanting to make sourdough starter for ages and when I came across this wonderful tutorial I couldn't resist.  I made the starter with the help of our oven light and, once it was ready to use, then put it to good use making a couple loaves of sourdough.  I ended up using the starter to make the whole wheat sourdough bread recipe from my Salt Spring Island Cooking cookbook.

One loaf was a boule shape which we quickly finished off with our lunch and the other loaf was made in this thrifted bread pan.  French is not something my boys are very familiar with but I was surprised when they both asked me why it said "pain" on the bread pan - was it meant to imply that it was a pain to make homemade bread?  I told them that pain was bread in French and then thought back to my own years of French lessons and then wondered if the boys would know more french if we ate more processed food - my brother and I used to practice our French by reading labels on cereal boxes, etc. at our breakfast. 
At any rate, this bread was not a "pain" to make and I've tucked the starter away in the fridge so that we will be able to enjoy it regularly. 
Since I had to have the oven light on for the starter I thought I might as well make another batch of yogurt in the oven.  I used to use this method to make homemade yogurt but recently found it to be much easier just to pour the mixture into a casserole dish and set it in the oven overnight. 
There is no need to put the light on for the yogurt - you can just warm the oven for a minute before placing the dish in but I found the oven light worked nicely as well.
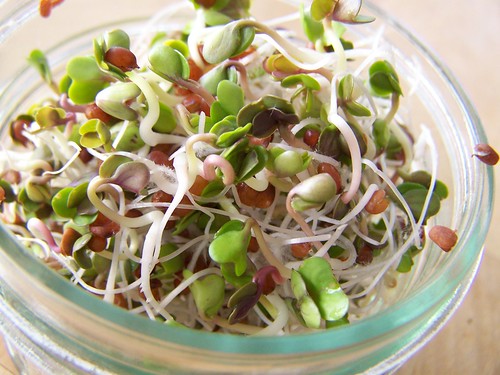
And, since we're all feeling hungry for greens and fresh...anything...we've started making sprouts again. I love to have these on sandwiches but E likes them so much he will just snack on them while he reads.
Sprouts aren't the only thing sprouting around here - there are lots of onions on the go as well as some (early) tomatoes and peppers that are just about ready to move to the greenhouse.  Nothing like veggie seedlings to make one feel more springish.

Friday, March 2, 2012

A Shawl to...Share?

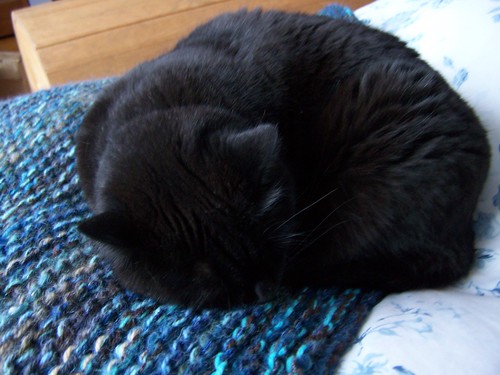
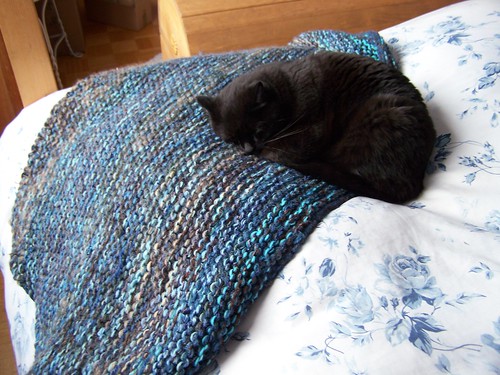
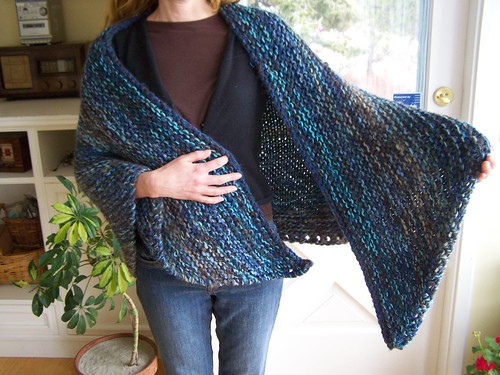
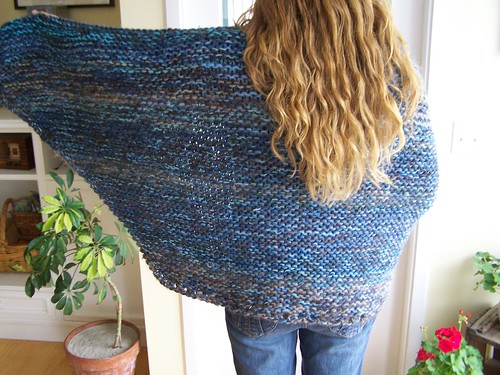
Last week I finally picked up the needles to finish this shawl that I had started back in November to use up a bunch of odds and ends out of my yarn stash.  It was meant to be a gift when I started it before Christmas but I ended up making a different one for that person so this one ended up being for me...although my cat seems to be pretty sure it was meant for her.
I tossed it at the foot of the bed when I was done knitting it because I thought I would wear it over my shoulders when I was sitting up in bed reading at night.  Putty had a different idea and every time I go into the bedroom, there she is...hogging it!
I should have known this was going to happen by the way she always came to sit on it whenever I was knitting it and scowled at me each time I dared to move it a bit as I was knitting.  I actually had to pick her up and move her so that I could "borrow" it long enough to get these pics taken.
 Now she's miffed!

Wednesday, February 29, 2012

Stocking the Pantry

One of the things I find very helpful in keeping our household orderly (along with menu planning) is to have a well-stocked pantry.  I always like to have jars full of staples on hand - beans, rice, oats, lentils, etc.
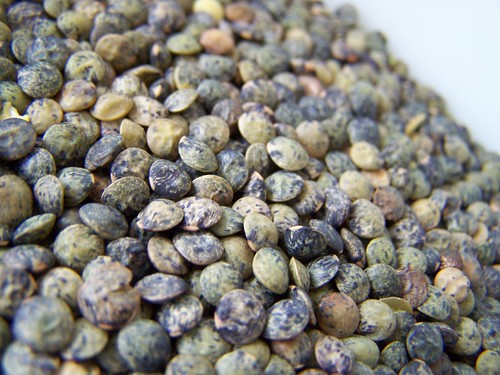
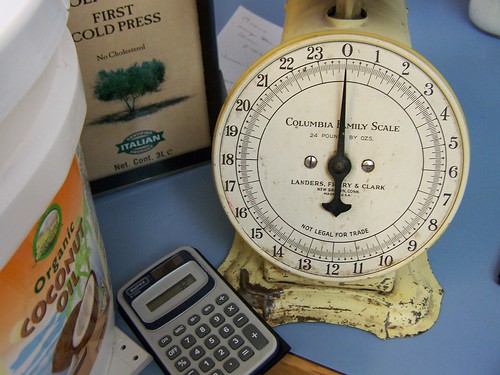
Recently I had the opportunity to get some of these staples from a buying club and was pleased to be able to really stock up and get buckets of some things (organic coconut oil and natural peanut butter), big paper bags of other things (french lentils, rolled oats, beans) as well as essential oils, coconut milk and more - all this without having to go to a grocery store.
(even though we've eaten loads of legumes for years this is the first time we've tried French lentils - they're our new favourite)

So along with our cold-room full of preserves and stored veg. we also have a full pantry which means very few trips to the grocery store for us.  This is such a time saver and...frankly, a sanity saver because I find big grocery stores - with their vast array of choices - to be pretty overwhelming and time-consuming places.  Stocking up on all the essentials now means more time outside in the garden in the coming months. 
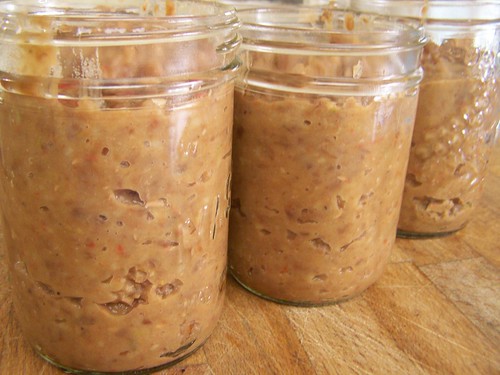
Stocking up also usually leads to a cooking day when dry pinto beans are turned into jars of re-fried beans and put in the freezer for future use. 
(the boys love to have re-fried beans on hand so they can use them on corn tortillas with our salsa for their lunch)

Rolled oats are made into big jars of granola.  And lentils are made into a favourite - lentil casserole (which we now like even more with French lentils instead of brown lentils).

Friday, February 24, 2012

Impatient Peppermint Laudry Soap

I was going to patienty wait a month for my peppermint soap to cure before starting to use it for making laundry soap, but then I was looking through the book Smart Soapmaking and read a bit about curing that made me think perhaps it might not be entirely necessary for me to wait that long for it to cure.  It had only been a week since I had made the soap but, being ever so slightly impatient, that was all the encouragement I needed...I put the book down and got out the grater.

I grated and grated some more.  Mixed together a new minty fresh 2 qt jar of laundry soap powder and went off to do a load of laundry.  The Impatient Peppermint Laundry Powder worked like a charm.
Needless to say I'm tickled at the idea of no longer buying any soap...not even for doing laundry.

Thursday, February 23, 2012

Very Simple (Wacky) Birthday Cake

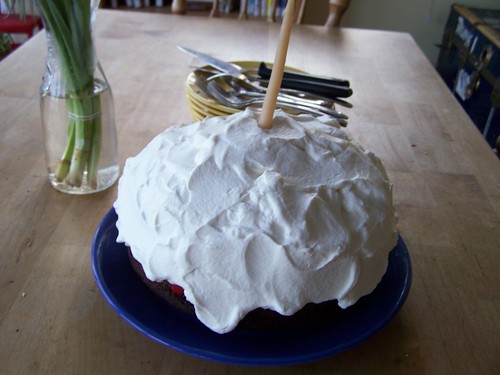
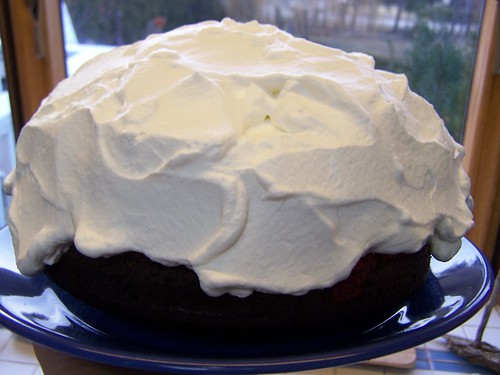
We had a birthday here a little while ago...a two cake birthday. ;-)  That means one cake on the day our family celebrated and one cake on the day the friends came over to celebrate.  This birthday boy knows just what he wants for a cake and it mostly has to do with a lot of whipped cream. He specified a very certain look.  Two layers of chocolate cake.  Whip cream in between.  LOTS of whip cream on top piled in a dome shape.  And since it's not for me to question why (?!?!), I just went ahead and made one. 
 (same birthday boy wanted whipped cream along with peach butter and blueberries for his birthday breakfast waffles)

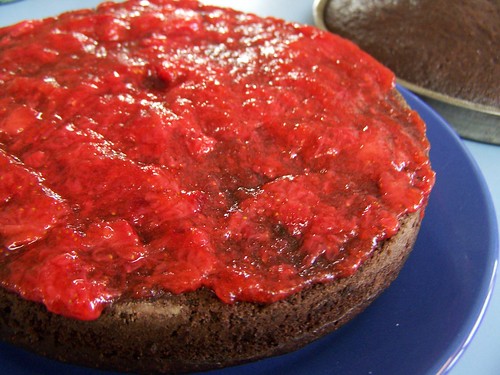
And since he liked that cake so much I made another one exactly the same for the second cake day.  One of the things that he liked about it was that I put something special in between the layers along with the whipped cream - his very own strawberry jam that he made in the summer.  It added just an extra touch of deliciousness.
The cake recipe is an old favourite.  I've been making it since I was about 8 years old.  I always called it Wacky Cake but I've seen it with all kinds of names.  I'm sure you'll recognize the recipe (if so, I'd love to know what you call it) but I was visiting with my friend yesterday (an experienced baker and wonderful cook) and was surprised to hear she hadn't heard of it - even when I described the 3 holes and the vinegar, vanilla and oil part!!  So...obviously I have to share the recipe with her (poor deprived girl) and thought I'd share it here too.

Wacky Cake

•1 1/2 cups unbleached all-purpose flour

•1 cup sugar

•3 tablespoons unsweetened cocoa

•1 teaspoon baking powder

•1 teaspoon baking soda

•1/2 teaspoon salt

•1 teaspoon vanilla

•1 tablespoon vinegar

•5 tablespoons melted butter (or melted coconut oil or grape seed oil)

•1 cup warm water

Mix dry ingredients in 8X8 pan.  Make 3 holes in mixture.  Put the 1tsp vanilla in one hole, 5 Tbsp melted butter in other hole and 1 Tbsp vinegar in another hole (that bit was always the exciting part because it starts to fizz a bit).  Then pour 1 cup of water over the whole lot and mix well.  Bake for 35-45 minutes at 350. 
That was how I always made it and then quite often I used to ice it too.  Since then I've learned that chocolate chips in the batter make a delightful addition.  And these days I no longer mix it in the pan because I'm usually doubling the recipe and then making it in two pans (or you can double it and make it in a 9x13).
At any rate it is a simple-to-make and delicious-to-eat cake - a very good "starter" cake for a new baker but also the kind of cake that one never gets tired of.  So there you are M-S...make it with your family and let them eat cake!

Wednesday, February 22, 2012

Sima - a Finnish Spring Mead

Sometime ago a friend told us about a special drink her son had made - a fizzy, lemon drink.  I knew E would be interested because he loves anything lemon, enjoys being able to make things himself and anything fizzy is an unusual treat around here.  The friend was kind enough to share her recipe and I tucked it away in E's folder and the months went by.
Then on Saturday I was looking through a library book - Lotta Jansdotter's Handmade Living: A Fresh Take on Scandinavian Style - and saw a Swedish drink called Mead  that looked and sounded very much like the Sima that our friend  had let us sample.  I found her Sima recipe again and sure enough...it was very similar. 
I told E about it Sunday morning and he decided that we Must make it Now!  So after our walk in the woods we stopped at our neighbourhood shop to get some lemons and sugar and came home to make it.
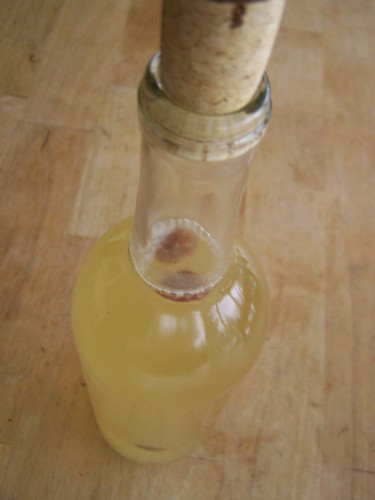
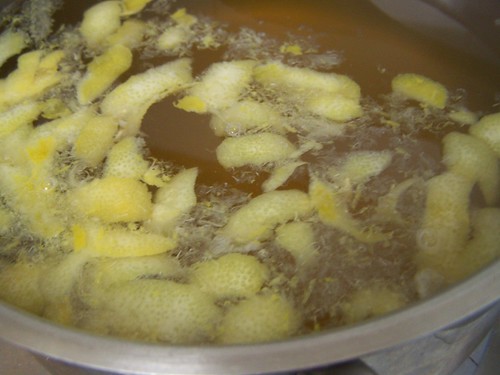
E boiled the water and added the sugar, lemon rind  and lemon juice then left it to cool a bit.  Once it was cooled to the right temperature he added a bit of yeast and then we left it overnight.


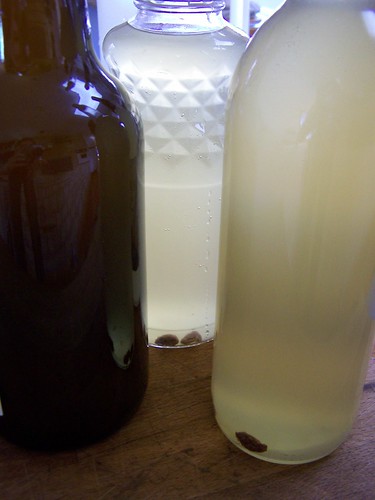
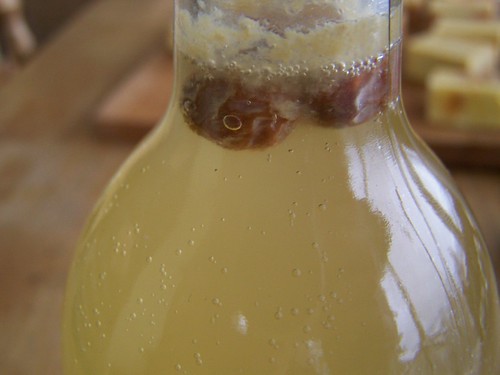
The next day we bottled it with a few raisins in each bottle - meant to tell us when it was ready by floating to the top of each bottle...I do love a clear indication of things going well!!
Then the next day E checked on them and two of the bottles had raisins floating and tiny bubbles in the neck.  He was thrilled.  Of course, he had to sample immediately...and was delighted. 
The other bottles are in the fridge and I have a feeling they won't last long. ;-)  He wants to make this regularly and I'm hoping he will make it for May day as the start of a new tradition.  We've read that Sima is a traditional May Day drink in Finland and who doesn't like a special drink to celebrate Beltane - the renewal of nature and the beginning of the bright half of the year? 
Speaking of that  "bright" half of the year, rather than waiting patiently for it to bring us blooms, I decided to "force" the issue and bring in some Forsythia to force.  The branches of yellow flowers bring a bit of cheer to our living space!

Edited to add recipe -
Here is the recipe from our friend - we actually used two lemons and, after removing the zest from them, instead of slicing them we juiced them so that we wouldn't have to bother removing the white pith.  You can see another similar recipe and directions here.
Sima
1 lemon

5 liters water

1/2 cup brown sugar

1/2 granulated sugar

1/4 tsp. yeast

additional granulated sugar and raisins

Remove zest from lemon and place in a large non-aluminum pot. Slice the lemon and set aside. Add the water and sugars to the pot and bring to a boil. Stir until the sugars dissolve. Remove from heat, cover and cool to 110 degrees F. Stir in lemon slices and yeast. Cover and let stand at room temperature until the next day. Bubbles should appear. Strain through a sieve and fill five 1 liter bottles. Add 1 tsp. sugar to each bottle and 2 raisins. Seal and store in a cool place until raisins rise to the surface (2-4 days), Chill until ready to serve.

Tuesday, February 21, 2012

Citrus Swirl Soap

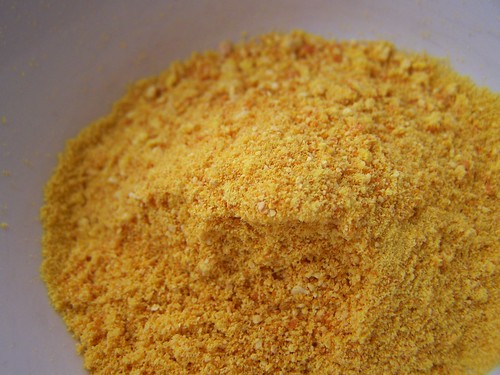
I've been wanting to make a batch of soap for my husband. He likes citrus-y smells so I thought it would be fun to use some dried and ground orange peels along with several citrus essential oils for his batch.
I also wanted it to look sort of orange and yellow with a bit of darker orange.  I decided to dry some orange peels and try using those. I cut them up and let them dry and then ground them in the blender.
I was thinking that the ground orange peels might give it a darker colour but then was reading in a soap making book that quite often you end up with a different colour than you think you might based on how the plant material reacts with the soap.

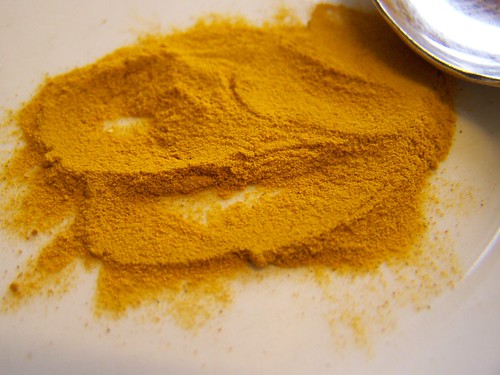
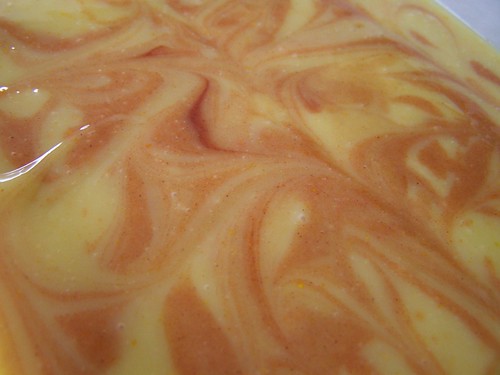
It suggested using spices to get different reliable colours. I wanted to try paprika but was out of it and so I googled to see what colour turmeric might give and decided to give that a try.  After pouring most of my soap into the mould I added a spoonful of turmeric to a small amount of soap and whizzed it to mix it in - it went quite red when I added it .  It ended up being a sort of saffron colour, and looked great when swirled into the main batch of soap.
It ended up looking just the way I had hoped and it smells delightful (I'm hoping the citrus smells don't fade too quickly).
Here it is almost dried after sitting overnight.

This was a basic coconut oil and olive oil soap. I had used this combination before for the first batch we made and really like the hardness of the soap and the lather.
Each batch I make has me wondering why I waited so long to try soap-making.  It really is a very simple thing to do and SO much fun to be able to make all kinds of different soap.  The toughest part is trying to wait patiently while it cures before you can try it...something, it turns out, I wasn't able to do with my batch of peppermint soap.  More on that later. ;-)