Showing posts with label Make It Yourself. Show all posts

Sunday, May 6, 2012

Farm Stand, Fabric and Morels


We've been working everyday at the market garden trying to get things ready,  I've been busy in the field and greenhouse, and my family has been working hard on the farmstand.

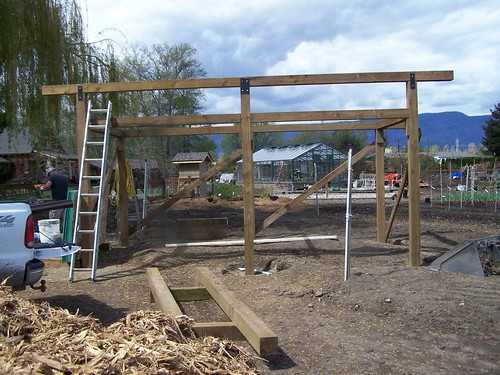
It is such a treat to look up from my work and see my boys working with S at building a gorgeous stand.  It's going to look wonderful when it's done.  Yesterday they put the roof on and did most of the shingles, today they will do the siding.  Our signs were ready this week as well and it really feels as though everything is coming together - we've even got irrigation up and running in half our north field so we were able to plant half our main potatoes.
I've been planting, planting and planting some more and potting on loads of tomatoes.

I did take time out yesterday to go for a walk with a friend along the creek.  We were walking back along the path and saw a man with a bag in his hand and we both guessed that he was collecting mushrooms.  We talked with him for a bit- saw his bags of loot! - and then we also started looking for mushrooms.

It was interesting to both of us to see how many mushrooms we'd walked right by the first time when we'd been so busy talking and catching up that we weren't looking for anything else.  Once we knew there were mushrooms right alongside the path we started seeing them everywhere.

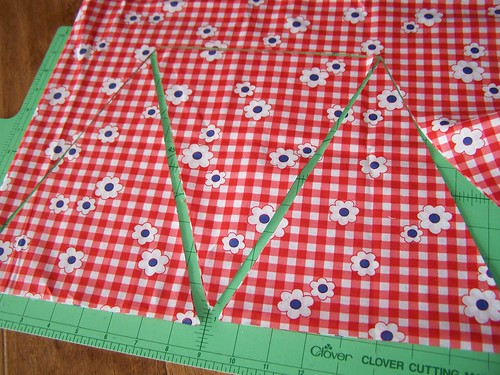
Over a month ago I started cutting out some fabric to make a pennant banner for the farm stand.  It seems the stand will be built before I get it sewn together...actually, at the rate I'm going, it may  well be built before I even finish cutting the triangles out. ;-)

Life is very busy but very, very good.

Sunday, March 11, 2012

Sourdough Starter, Sprouts and Yogurt

It's been a bit of a frazzled week around here - restoration workers (still!) in the basement, dental issues, sickness - but there was also comfort to be found in the kitchen.  I always think that centuries of women must have found comfort and calm, during trying times, in their daily rounds in the kitchen, and in the rhythm of food preparation.
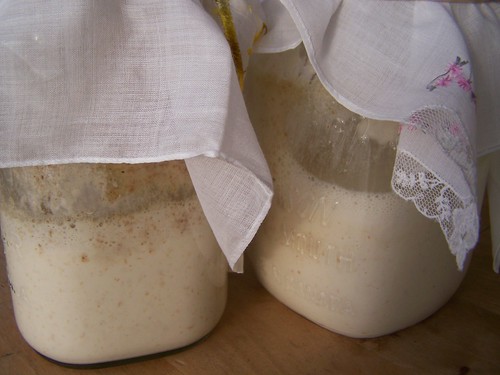
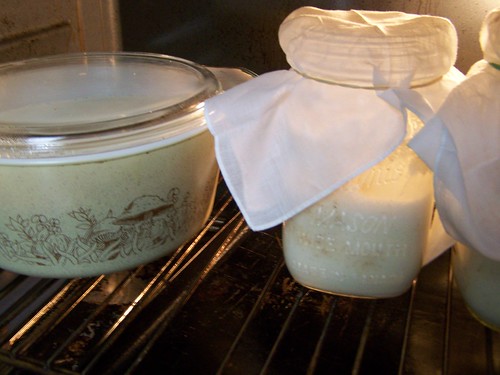
I've been wanting to make sourdough starter for ages and when I came across this wonderful tutorial I couldn't resist.  I made the starter with the help of our oven light and, once it was ready to use, then put it to good use making a couple loaves of sourdough.  I ended up using the starter to make the whole wheat sourdough bread recipe from my Salt Spring Island Cooking cookbook.

One loaf was a boule shape which we quickly finished off with our lunch and the other loaf was made in this thrifted bread pan.  French is not something my boys are very familiar with but I was surprised when they both asked me why it said "pain" on the bread pan - was it meant to imply that it was a pain to make homemade bread?  I told them that pain was bread in French and then thought back to my own years of French lessons and then wondered if the boys would know more french if we ate more processed food - my brother and I used to practice our French by reading labels on cereal boxes, etc. at our breakfast. 
At any rate, this bread was not a "pain" to make and I've tucked the starter away in the fridge so that we will be able to enjoy it regularly. 
Since I had to have the oven light on for the starter I thought I might as well make another batch of yogurt in the oven.  I used to use this method to make homemade yogurt but recently found it to be much easier just to pour the mixture into a casserole dish and set it in the oven overnight. 
There is no need to put the light on for the yogurt - you can just warm the oven for a minute before placing the dish in but I found the oven light worked nicely as well.
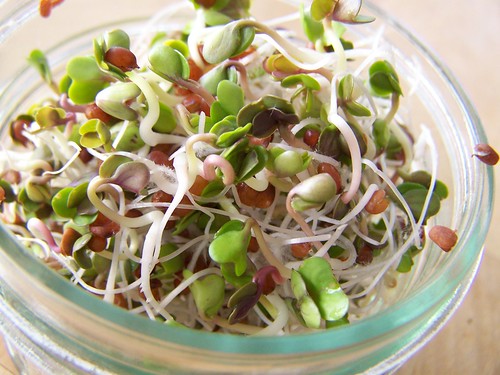
And, since we're all feeling hungry for greens and fresh...anything...we've started making sprouts again. I love to have these on sandwiches but E likes them so much he will just snack on them while he reads.
Sprouts aren't the only thing sprouting around here - there are lots of onions on the go as well as some (early) tomatoes and peppers that are just about ready to move to the greenhouse.  Nothing like veggie seedlings to make one feel more springish.

Friday, March 2, 2012

A Shawl to...Share?

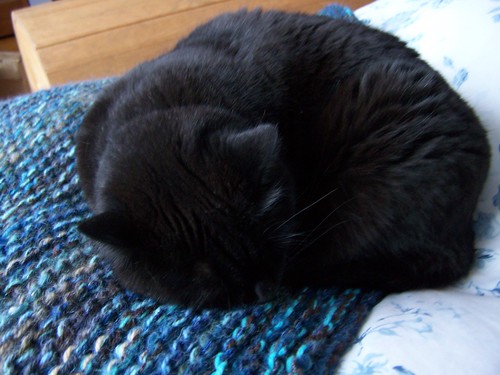
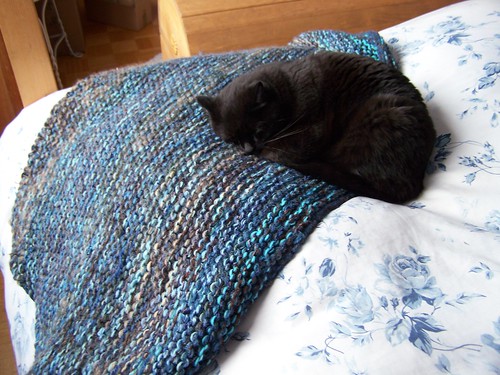
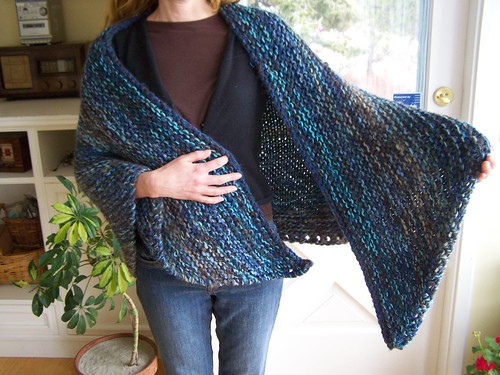
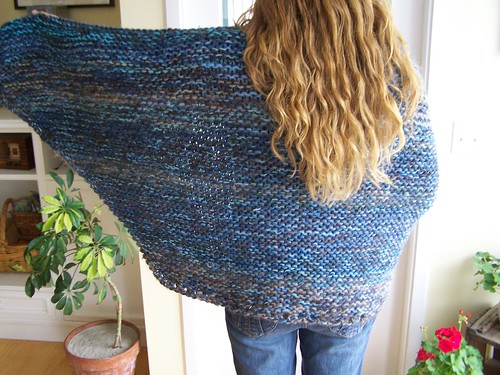
Last week I finally picked up the needles to finish this shawl that I had started back in November to use up a bunch of odds and ends out of my yarn stash.  It was meant to be a gift when I started it before Christmas but I ended up making a different one for that person so this one ended up being for me...although my cat seems to be pretty sure it was meant for her.
I tossed it at the foot of the bed when I was done knitting it because I thought I would wear it over my shoulders when I was sitting up in bed reading at night.  Putty had a different idea and every time I go into the bedroom, there she is...hogging it!
I should have known this was going to happen by the way she always came to sit on it whenever I was knitting it and scowled at me each time I dared to move it a bit as I was knitting.  I actually had to pick her up and move her so that I could "borrow" it long enough to get these pics taken.
 Now she's miffed!

Friday, February 24, 2012

Impatient Peppermint Laudry Soap

I was going to patienty wait a month for my peppermint soap to cure before starting to use it for making laundry soap, but then I was looking through the book Smart Soapmaking and read a bit about curing that made me think perhaps it might not be entirely necessary for me to wait that long for it to cure.  It had only been a week since I had made the soap but, being ever so slightly impatient, that was all the encouragement I needed...I put the book down and got out the grater.

I grated and grated some more.  Mixed together a new minty fresh 2 qt jar of laundry soap powder and went off to do a load of laundry.  The Impatient Peppermint Laundry Powder worked like a charm.
Needless to say I'm tickled at the idea of no longer buying any soap...not even for doing laundry.

Wednesday, February 22, 2012

Sima - a Finnish Spring Mead

Sometime ago a friend told us about a special drink her son had made - a fizzy, lemon drink.  I knew E would be interested because he loves anything lemon, enjoys being able to make things himself and anything fizzy is an unusual treat around here.  The friend was kind enough to share her recipe and I tucked it away in E's folder and the months went by.
Then on Saturday I was looking through a library book - Lotta Jansdotter's Handmade Living: A Fresh Take on Scandinavian Style - and saw a Swedish drink called Mead  that looked and sounded very much like the Sima that our friend  had let us sample.  I found her Sima recipe again and sure enough...it was very similar. 
I told E about it Sunday morning and he decided that we Must make it Now!  So after our walk in the woods we stopped at our neighbourhood shop to get some lemons and sugar and came home to make it.
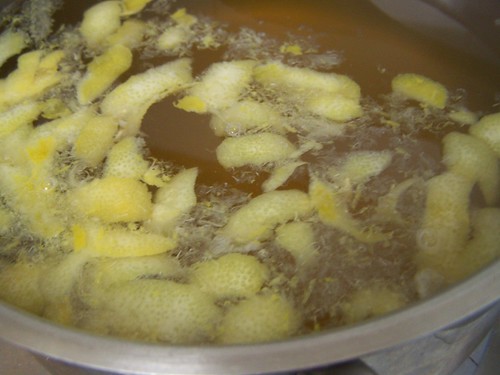
E boiled the water and added the sugar, lemon rind  and lemon juice then left it to cool a bit.  Once it was cooled to the right temperature he added a bit of yeast and then we left it overnight.


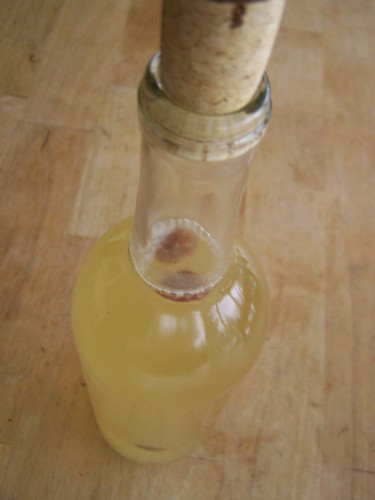
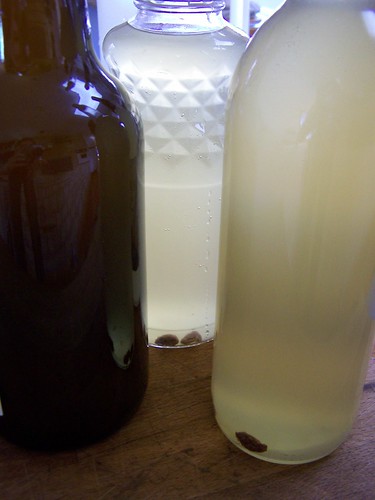
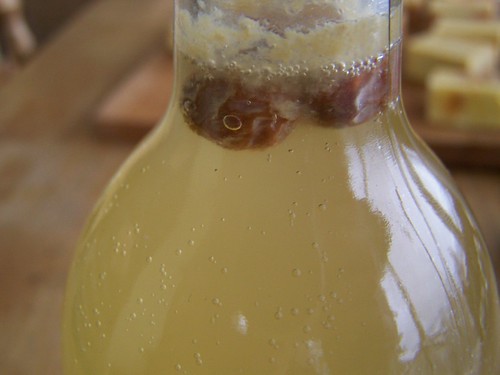
The next day we bottled it with a few raisins in each bottle - meant to tell us when it was ready by floating to the top of each bottle...I do love a clear indication of things going well!!
Then the next day E checked on them and two of the bottles had raisins floating and tiny bubbles in the neck.  He was thrilled.  Of course, he had to sample immediately...and was delighted. 
The other bottles are in the fridge and I have a feeling they won't last long. ;-)  He wants to make this regularly and I'm hoping he will make it for May day as the start of a new tradition.  We've read that Sima is a traditional May Day drink in Finland and who doesn't like a special drink to celebrate Beltane - the renewal of nature and the beginning of the bright half of the year? 
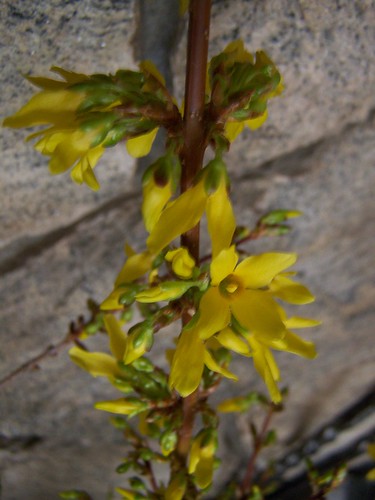
Speaking of that  "bright" half of the year, rather than waiting patiently for it to bring us blooms, I decided to "force" the issue and bring in some Forsythia to force.  The branches of yellow flowers bring a bit of cheer to our living space!

Edited to add recipe -
Here is the recipe from our friend - we actually used two lemons and, after removing the zest from them, instead of slicing them we juiced them so that we wouldn't have to bother removing the white pith.  You can see another similar recipe and directions here.

Sima
1 lemon

5 liters water

1/2 cup brown sugar

1/2 granulated sugar

1/4 tsp. yeast

additional granulated sugar and raisins

Remove zest from lemon and place in a large non-aluminum pot. Slice the lemon and set aside. Add the water and sugars to the pot and bring to a boil. Stir until the sugars dissolve. Remove from heat, cover and cool to 110 degrees F. Stir in lemon slices and yeast. Cover and let stand at room temperature until the next day. Bubbles should appear. Strain through a sieve and fill five 1 liter bottles. Add 1 tsp. sugar to each bottle and 2 raisins. Seal and store in a cool place until raisins rise to the surface (2-4 days), Chill until ready to serve.

Tuesday, February 21, 2012

Citrus Swirl Soap

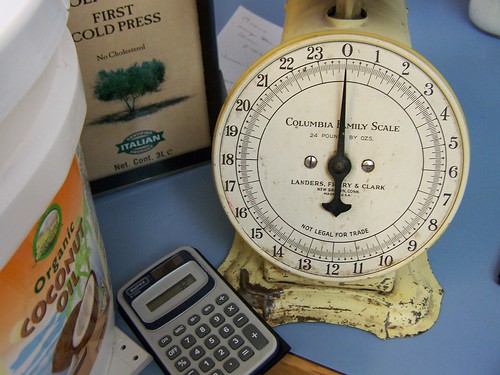
I've been wanting to make a batch of soap for my husband. He likes citrus-y smells so I thought it would be fun to use some dried and ground orange peels along with several citrus essential oils for his batch.
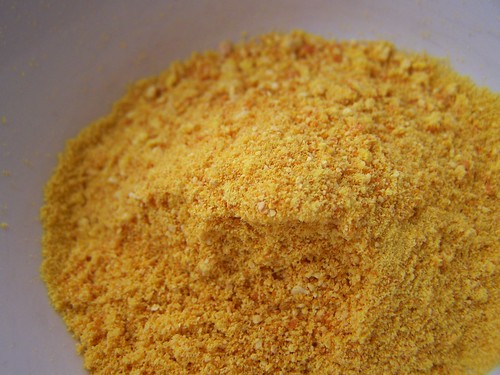
I also wanted it to look sort of orange and yellow with a bit of darker orange.  I decided to dry some orange peels and try using those. I cut them up and let them dry and then ground them in the blender.
I was thinking that the ground orange peels might give it a darker colour but then was reading in a soap making book that quite often you end up with a different colour than you think you might based on how the plant material reacts with the soap.

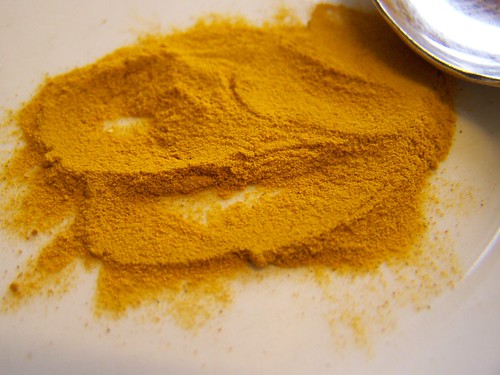
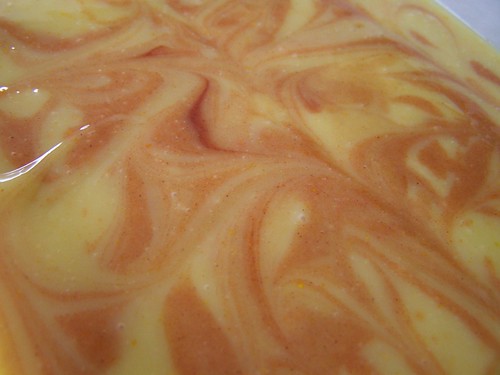
It suggested using spices to get different reliable colours. I wanted to try paprika but was out of it and so I googled to see what colour turmeric might give and decided to give that a try.  After pouring most of my soap into the mould I added a spoonful of turmeric to a small amount of soap and whizzed it to mix it in - it went quite red when I added it .  It ended up being a sort of saffron colour, and looked great when swirled into the main batch of soap.
It ended up looking just the way I had hoped and it smells delightful (I'm hoping the citrus smells don't fade too quickly).
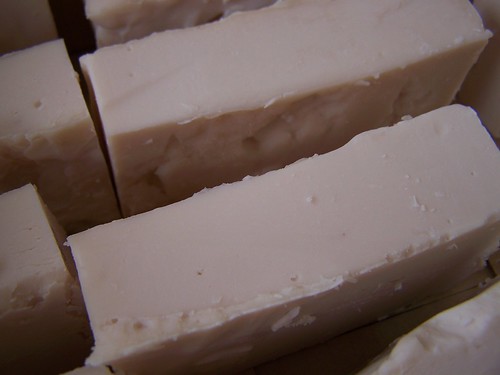
Here it is almost dried after sitting overnight.

This was a basic coconut oil and olive oil soap. I had used this combination before for the first batch we made and really like the hardness of the soap and the lather.
Each batch I make has me wondering why I waited so long to try soap-making.  It really is a very simple thing to do and SO much fun to be able to make all kinds of different soap.  The toughest part is trying to wait patiently while it cures before you can try it...something, it turns out, I wasn't able to do with my batch of peppermint soap.  More on that later. ;-)

Saturday, February 4, 2012

Peppermint Soap for Laundry

We've been busy making lemonade out of lemons here lately.  A flood in the basement kick-started my Spring cleaning a little earlier than usual.  ;-)  I do actually love Spring cleaning and I likely would not have made as much time as needed for it this year (since this week I'll start seeding the greenhouse for the market garden and things will just keep getting busier after that) so I'm choosing to find the silver lining in the flood in this way.  All the Spring cleaning upstairs is already done and, as soon as restoration work is finished,  the downstairs will all be deeply cleaned as well. 
Awhile ago I decided to try out the homemade dry laundry soap that I've seen on other blogs instead of making my usual liquid laundry soap.  I used Dr Bronner's peppermint soap and enjoyed the scent so much that I decided to try making my next batch of homemade soap with peppermint oil.
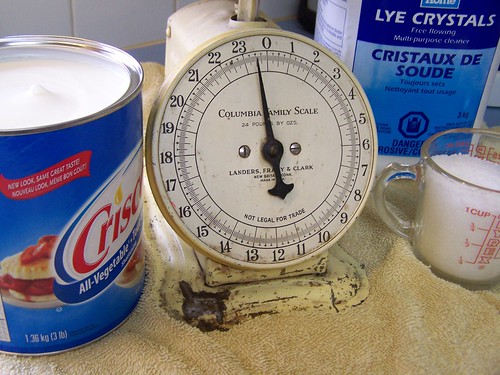
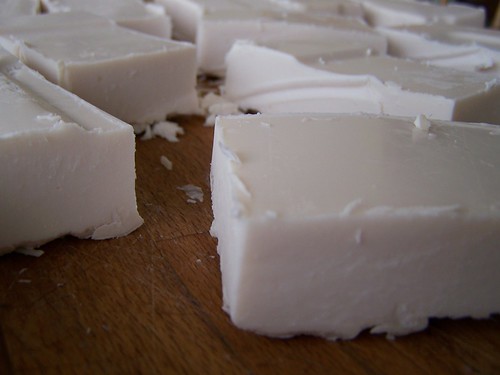
The boys helped me to make it the other day and this morning I cut it into bars to cure.  This is the first time I tried making an all vegetable shortening recipe (other methods here and here) and it came out well and will make a nice bar to use in the laundry soap recipe.  I followed the excellent video tutorial on this website (there is a fantastic amount of soap-making info. there).

Wednesday, February 1, 2012

Slipper Clogs Made from Felted Sweaters

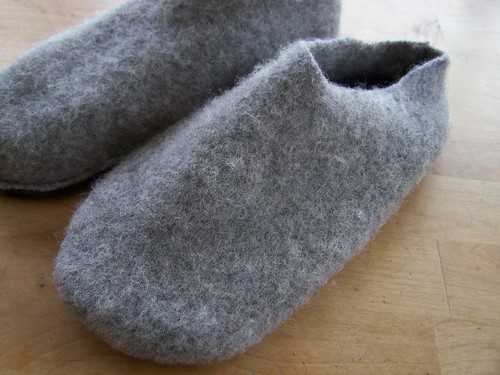
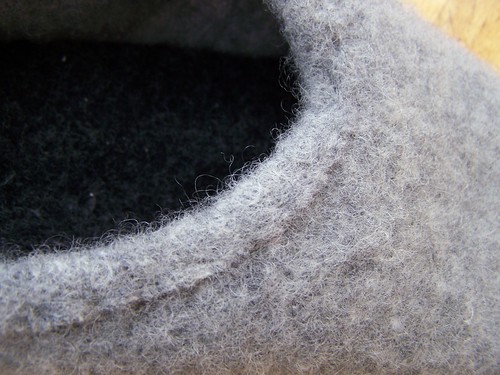
Slipper clogs made from felted sweaters...as opposed to the Felted Slipper Clogs I usually make.  I've been making the Fibre Trends Felted Slipper Clogs for quite a few years now and they are always well-received as gifts (we all LOVE them).  My parents each have two pairs and have brought them back to me a few times now so that I could put new bottoms on (from felted sweaters) since they wear them so much that they wear holes in them (yes I do accuse them of being "shufflers" and give them a hard time).  When I was repairing them yet again last month and thinking that perhaps they each needed a new pair, I thought that I should just find a way to make them - the whole slipper - out of felted sweaters, because that would be so much quicker and easier for me than knitting a whole new pair.
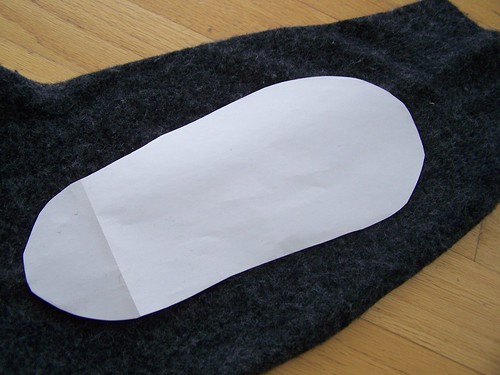
So...I thought I would use my Dad's upcoming birthday as a chance to try it out.  I made a pattern of what I thought the top should look like then traced the bottom of one of W's slippers to use as the slipper sole. 
I cut one top for each slipper and two bottoms each (since that is the part they always wear through I wanted to make it double thickness). 
Sewed them altogether then just slightly turned the ankle edge under (to the wrong side) to finish it off.
Then, even though I had already felted the sweaters before cutting, I threw them in the washer for a bit more felting to sort of tighten them up and finish them off. 
They came out quite nicely and I'm pleased with them.  W tried them on so I could be sure they would fit my Dad as well.  It probably only took about an hour total to make them and I think now that I've got it figured out I could make another pair in only half an hour - a big time saver for me compared to when I knit them.  We'll see if they pass the test when my Dad tries them out. If so, I'll have to tell him that now he can go ahead and shuffle to his foot's content since I can make slippers so much more quickly now.;-)

Thursday, December 22, 2011

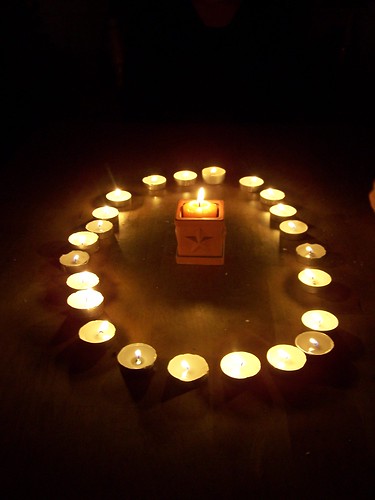
Happy Solstice and Handmade Gifts

We have a tradition of giving the boys one small handmade gift at Solstice.  This year when I was wondering what I could possibly make for my 16 year old son he sent me a picture of this hat.  It looked simple enough so I googled and found a simple pattern on this blog.  After a quick reminder for myself on how to do a half-double crochet I got to it.
I'm pleased with how it turned out and, better yet, so is he.  It really does do a mama's heart good to see her teen son wearing some handmade goodness.  If you look at that first link you'll see that the hat had a label that said "Love" on it, I barely resisted the temptation to make one up that said "Mama's Love" to torment my son with.
Happy Solstice!
May the return of the light help you find much to be thankful for.